一,要安装 Repo,请执行以下操作:
1,确保主目录下有一个 bin/ 目录,并且该目录包含在路径中:
mkdir ~/bin
PATH=~/bin:$PATH
2, 下载 Repo 工具,并确保它可执行:
curl https://storage.googleapis.com/git-repo-downloads/repo > ~/bin/repo
chmod a+x ~/bin/repo
上面是Google的repo文件,由于在墙外,所以请使用下面清华大学提供的repo;
# 清华大学repo
curl https://mirrors.tuna.tsinghua.edu.cn/git/git-repo > ~/bin/repo

#修改repo权限,可以用 ‘ll ~/bin/repo’ 命令查看
chmod a+x ~/bin/repo
二,初始化repo
1, 创建目录,多级目录,加 -p 参数;
puppy@bogon ~ : mkdir -p AOSP/android6.0
2, 进入到目录;
puppy@bogon ~ : cd AOSP/android6.0
3, 初始化仓库:
#如果后面不加 -b 分支参数,默认初始化的是master分支的最新版本
repo init -u https://aosp.tuna.tsinghua.edu.cn/platform/manifest -b android-6.0.1_r78
执行完上面命令,会卡住,然后会失败。这是因为repo会默认去Google找repo的最新版本;解决方法如下:
1), 由于repo就是Python脚本,所以可以直接改代码:
vim ~/bin/repo
可以改下面的REPO_URL, 但是不建议;
#!/usr/bin/env python

# repo default configuration
#
import os
REPO_URL = os.environ.get('REPO_URL', None)
if not REPO_URL:
  REPO_URL = 'https://gerrit.googlesource.com/git-repo'
REPO_REV = 'stable'

# Copyright (C) 2008 Google Inc.
#
# Licensed under the Apache License, Version 2.0 (the "License");
# you may not use this file except in compliance with the License.
# You may obtain a copy of the License at
#
#      http://www.apache.org/licenses/LICENSE-2.0
2), 导入清华大学的变量:
在终端执行:
export REPO_URL='https://mirrors.tuna.tsinghua.edu.cn/git/git-repo'
由于每次更新版本,都需要执行上面命令;为了方便,配置每次打开终端时候都执行此命令;由于我使用的item2的终端:
vim ~/.zshrc
在后面加入如下命令:
# 加入repo的环境变量
PATH=~/bin:$PATH

# 每次启动时执行导入变量命令
export REPO_URL='https://mirrors.tuna.tsinghua.edu.cn/git/git-repo'
4, 删掉repo目录下面的.repo,然后再执行初始化仓库的命令;
repo init -u https://aosp.tuna.tsinghua.edu.cn/platform/manifest -b android-6.0.1_r78
然后就会初始化成功;
5,同步代码:
repo sync
三,编译
正常来说在下载源码之前,需要创建一个磁盘映像, 然后源码的下载和编译都在这个磁盘映像中; 我一开始将repo初始化在了Mac本身的磁盘中,结果编译的时候,提示磁盘格式不对,所以才创建了下面的磁盘映像,然后我将源码拖入这个磁盘映像中进行的编译操作。
使用下面命令创建Android的磁盘映像: (我开始的时候创建了100g, 结果编译到中途不够了,后来又加了 50g)
hdiutil create -type SPARSE -fs 'Case-sensitive Journaled HFS+' -size 100g ~/android.dmg
如果磁盘映像空间不够了,用下面命令扩充:
hdiutil resize -size 150g ~/android.dmg.sparseimage
磁盘映像如图:
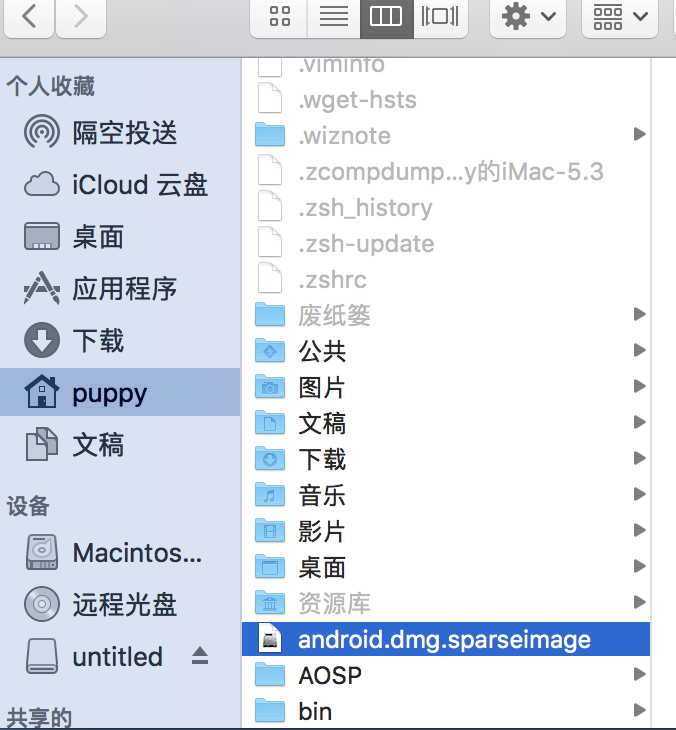
然后双击就可以装载,就跟一个U盘的使用一样。
1,cd到源码上一层目录
2,执行初始化脚本
source build/envsetup.sh
或
. build/envsetup.sh
3,选择目标
lunch
运行lunch会列出设备代码:
Lunch menu... pick a combo:
     1. aosp_angler-userdebug
     2. aosp_arm-eng
     3. aosp_arm64-eng
     4. aosp_bullhead-userdebug
     5. aosp_bullhead_svelte-userdebug
     6. aosp_car_arm-userdebug
     7. aosp_car_arm64-userdebug
     8. aosp_car_x86-userdebug
     9. aosp_car_x86_64-userdebug
     10. aosp_cf_x86_64_auto-userdebug
     11. aosp_cf_x86_64_phone-userdebug
     12. aosp_cf_x86_64_tablet-userdebug
     13. aosp_cf_x86_64_tablet_3g-userdebug
     14. aosp_cf_x86_64_tv-userdebug
     15. aosp_cf_x86_64_wear-userdebug
     16. aosp_cf_x86_auto-userdebug
     17. aosp_cf_x86_phone-userdebug
     18. aosp_cf_x86_tablet-userdebug
     19. aosp_cf_x86_tablet_3g-userdebug
     20. aosp_cf_x86_tv-userdebug
     21. aosp_cf_x86_wear-userdebug
     22. aosp_dragon-eng
     23. aosp_dragon-userdebug
     24. aosp_marlin-userdebug
     25. aosp_marlin_svelte-userdebug
     26. aosp_sailfish-userdebug
     27. aosp_taimen-userdebug
     28. aosp_walleye-userdebug
     29. aosp_walleye_test-userdebug
     30. aosp_x86-eng
     31. aosp_x86_64-eng
     32. hikey-userdebug
     33. hikey64_only-userdebug
     34. hikey960-userdebug
     35. m_e_arm-userdebug
     36. mini_emulator_arm64-userdebug
     37. mini_emulator_x86-userdebug
     38. mini_emulator_x86_64-userdebug
     39. uml-userdebug
| 设备型号 | 设备代码 | 编译目标 |
|---|---|---|
| Nexus 6P | angler | aosp_angler-userdebug |
| Nexus 5X | bullhead | aosp_bullhead-userdebug |
| Nexus 6 | shamu | aosp_shamu-userdebug |
| Nexus 5 | hammerhead | aosp_hammerhead-userdebug |
由于我要选择的模拟器,所以运行下面的lunch命令:
lunch aosp_x86_64-eng
4,编译
make -j16
四,编译中遇到的错误
1, fatal error: linux/netfilter/xt_DSCP.h: No such file or directory
cd 到下面这个目录:

然后创建文件xt_DSCP.h
/*
* based on ipt_FTOS.c (C) 2000 by Matthew G. Marsh <mgm@paktronix.com>
* This software is distributed under GNU GPL v2, 1991
*
* See RFC2474 for a description of the DSCP field within the IP Header.
*
* xt_DSCP.h,v 1.7 2002/03/14 12:03:13 laforge Exp
*/
#ifndef _XT_DSCP_TARGET_H
#define _XT_DSCP_TARGET_H
#include <linux/netfilter/xt_dscp.h>
#include <linux/types.h>

/* target info */
struct xt_DSCP_info {
    __u8 dscp;
};

struct xt_tos_target_info {
    __u8 tos_value;
    __u8 tos_mask;
};

#endif /* _XT_DSCP_TARGET_H */